@野鹿志:
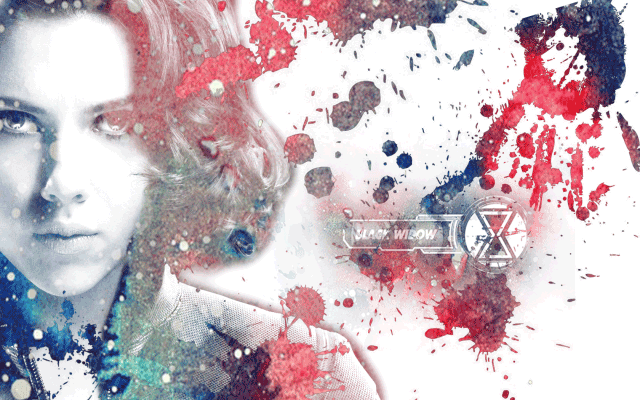
The effect of this tutorial is very brilliant and artistic. Use PS to add a watercolor splash effect to the goddess Scarlett. Cutout is used in the tutorial. There are no other special difficulties. Just add the material and then adjust it. It can be completed by making some changes. Let’s practice it together.
Rendering:
Operation steps:
Take the picture of goddess Scarlett as an example

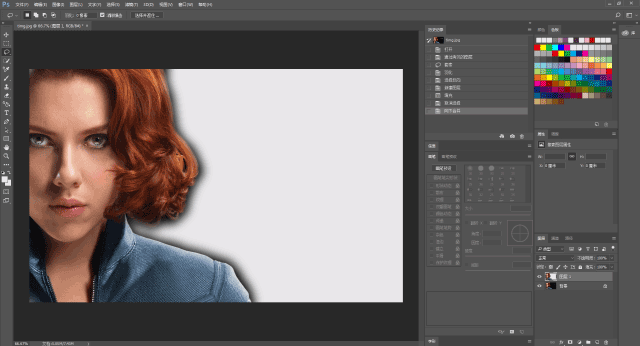
First we need to dig out the goddess
There are many ways to cut out pictures
I won’t go into details here
I use a lasso
Give it a rough outline
Feather 20, then select Inverse

Create a new layer, Shortcut keysCtrl+Shift+N
Select white or light solid color as the foreground color
Alt+Delete fill with foreground color
Ctrl+DDeselect
Then Ctrl+E to merge the layers downward
Ctrl+JCopy one layer
Then Image-Adjustment-Decolor

Ctrl+M brings up the curve command
Adjust the curve so that there are fewer midtones
The distinction between light and dark is obvious

Then start to pile up various materials:
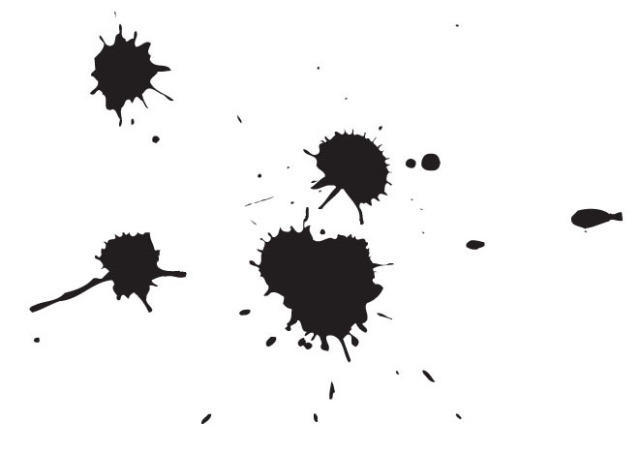

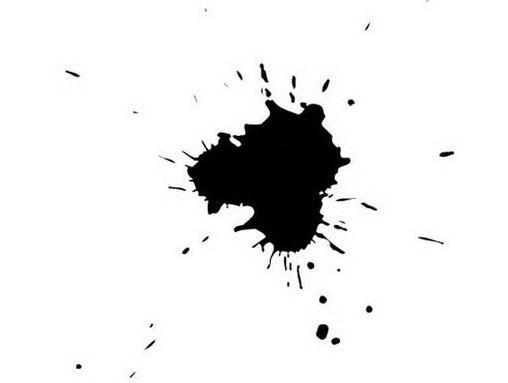

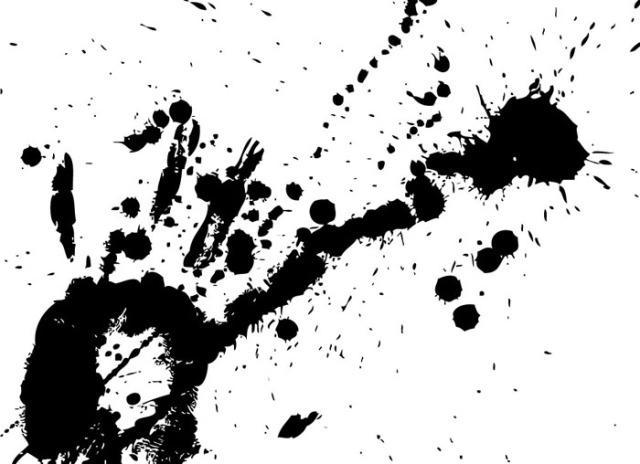
This step is very simple
Just drag them piece by piece into PS
Make a multiply on the picture
Then just put it in the appropriate position
Be careful, don’t slap me in the face!

After stacking the materials, it will look like this

Then create a new layer
Click on the Channels panel
Then hold down ctrl–click on the RGB channel
The highlight area is selected. (shortcut key Ctrl+Alt+2-5)
Then select-invert the selection (shortcut key Ctrl+Shift+I)
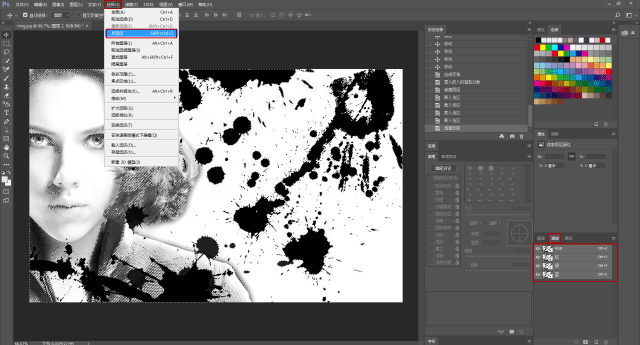
This will select the dark part of the graphic
Then create a new mask

Then prepare a watercolor material:

Drag the material into ps
Because the original image is relatively large
Just drag the material a little bigger:

Directly drag the Mask on layer 2 into this material
Apply mask
Done!

Use the same method as before to add a logo
Take a look at the finished product:

Today’s shortcut keys are used a lot
Everyone will become familiar with it after practicing it a few times
Shortcut keys used in this article:
Duplicate layer: Ctrl+J
Create a new layer: Ctrl+Shift+N
Fill with foreground color: Alt+Delete
Curve command: Ctrl+M
Select highlights: Ctrl+Alt+2-5
Select dark areas: Ctrl+Shift+I
Merge layers downward: Ctrl+E
Deselect: Ctrl+D
Come to the backstage and tease me to get materials to practice!
This article was published by “Yelu Zhi”
Welcome to share, please indicate the source when reprinting
————————–
Keep Curiosity Keep Learning
Public account ID: yeluzhi666
WeChat ID: maluyelang666
Do you like this effect? Did you encounter any problems during the production process? I believe that the students have already achieved results that they are satisfied with. In short, there is no shortcut to learning PS, you must start hands-on.
@野鹿志:
The effect of this tutorial is very brilliant and artistic. Use PS to add a watercolor splash effect to the goddess Scarlett. Cutout is used in the tutorial. There are no other special difficulties. Just add the material and then adjust it. It can be completed by making some changes. Let’s practice it together.
Rendering:

Operation steps:
Take the picture of goddess Scarlett as an example

First we need to dig out the goddess
There are many ways to cut out pictures
I won’t go into details here
I use a lasso
Give it a rough outline
Feather 20, then select Inverse

Create a new layer, Shortcut keysCtrl+Shift+N
Select white or light solid color as the foreground color
Alt+Delete fill with foreground color
Ctrl+DDeselect
Then Ctrl+E to merge the layers downward

Ctrl+JCopy one layer
Then Image-Adjustment-Decolor

Ctrl+M brings up the curve command
Adjust the curve so that there are fewer midtones
The distinction between light and dark is obvious

Then start to pile up various materials:


This step is very simple
Just drag them piece by piece into PS
Do it on the pictureMultiply
Then just put it in the appropriate position
Be careful, don’t slap me in the face!

After stacking the materials, it will look like this

Then create a new layer
Click on the Channels panel
Then hold down ctrl–click on the RGB channel
The highlight area is selected. (shortcut key Ctrl+Alt+2-5)
Then select-invert the selection (shortcut key Ctrl+Shift+I)

This will select the dark part of the graphic
Then create a new mask

Then prepare a watercolor material:

Drag the material into ps
Because the original image is relatively large
Just drag the material a little bigger:

Directly drag the Mask on layer 2 into this material
Apply mask
Done!

Use the same method as before to add a logo
Take a look at the finished product:

Today’s shortcut keys are used a lot
Everyone will become familiar with it after practicing it a few times
Shortcut keys used in this article:
Duplicate layer: Ctrl+J
Create a new layer: Ctrl+Shift+N
Fill with foreground color: Alt+Delete
Curve command: Ctrl+M
Select highlights: Ctrl+Alt+2-5
Select dark areas: Ctrl+Shift+I
Merge layers downward: Ctrl+E
Deselect: Ctrl+D
Come to the backstage and tease me to get materials to practice!
This article was published by “Yelu Zhi”
Welcome to share, please indicate the source when reprinting
————————–
Keep Curiosity Keep Learning
Public account ID: yeluzhi666
WeChat ID: maluyelang666
Do you like this effect? Did you encounter any problems during the production process? I believe that the students have already achieved results that they are satisfied with. In short, there is no shortcut to learning PS, you must start hands-on.

 微信扫一扫打赏
 支付宝扫一扫打赏

