Author: Hippo Author: Anonymous Source: IT.COM.CN
Let’s take a look at the final rendering:

1: Do you like it? Then we will do it.
Create a new document of 1000*500 and fill the background with black.

2: Create a new layer and rename it “Halo”. Select a soft brush, choose the brush size: 300, 650; the brush color is “white”. Then use these two brushes to draw the effect as shown below on the document.
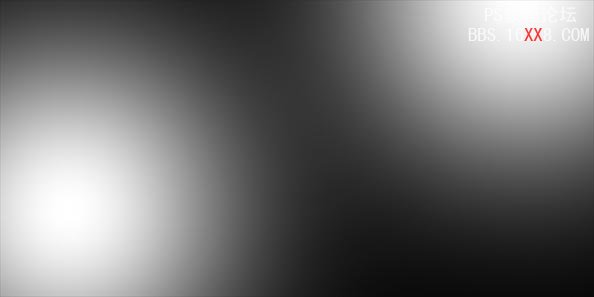
3: Draw three white straight lines on the same layer, use the “Brush Tool”, you can use the “Shift” key to draw a straight line. (The effect is as shown below)
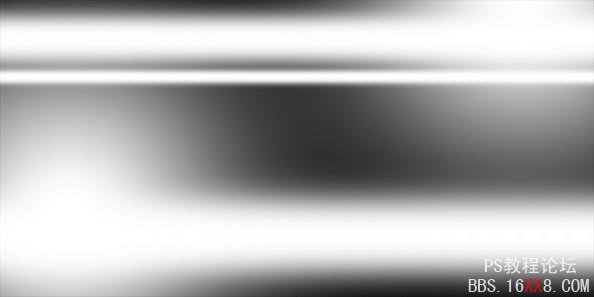
4: In this step we will create a light and shadow effect. Press “ctrl+T” on the keyboard and select “warp” from the right-click menu, and use the mouse to adjust the control points to create the following effect.
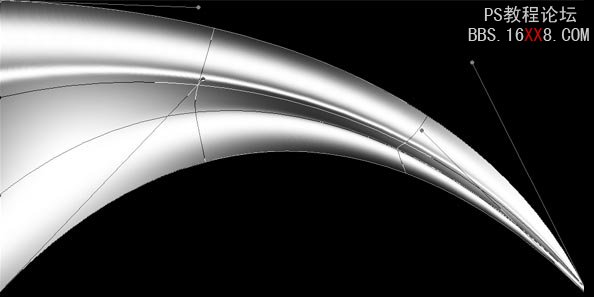
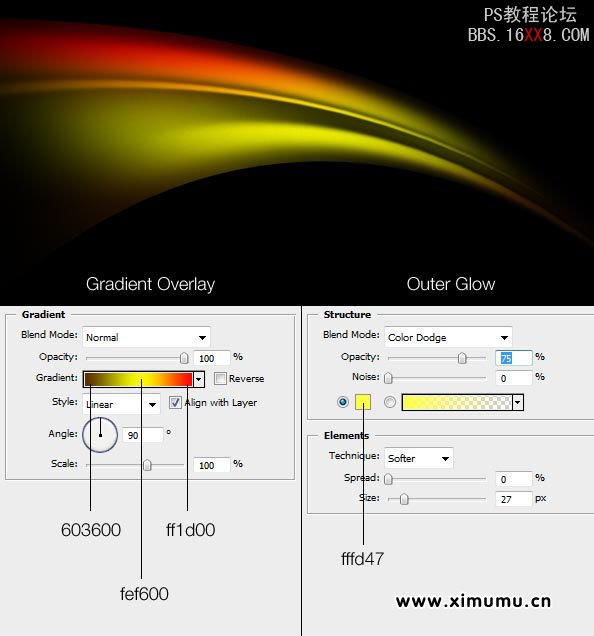
5: Double-click the layer to open the “Layer Blending Mode” dialog box, select “Color Overlay; Outer Glow” and set the data as follows Picture: Finally, use the “eraser” to erase the edges. The effect is as shown in the picture below.
6: Use the same method to create the following effects.
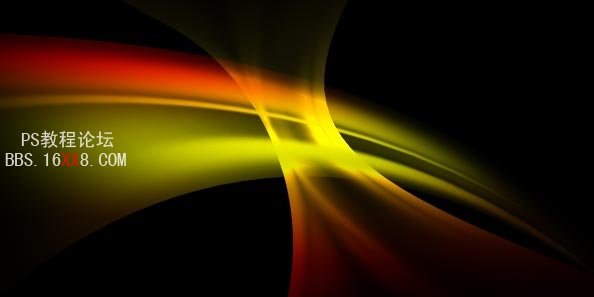
7: Continue to use the previous method to achieve the following effects.
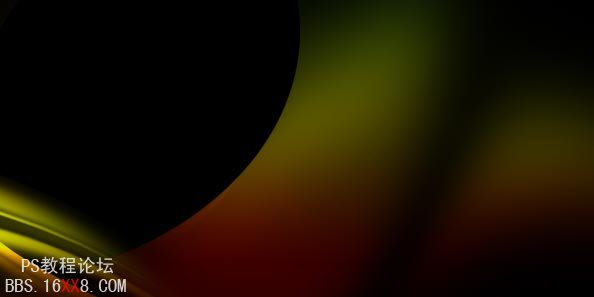

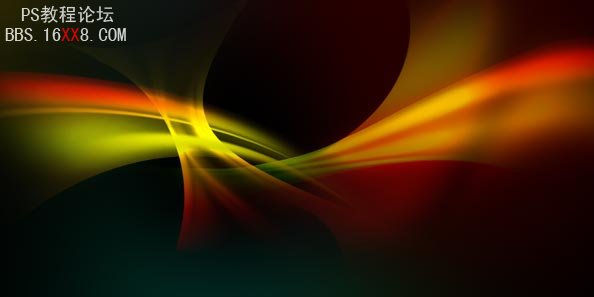
8: Baidu takes a picture of a football. Place the picture of the football between the back and halo layers, and set The layer’s blending mode: “Overlay”.
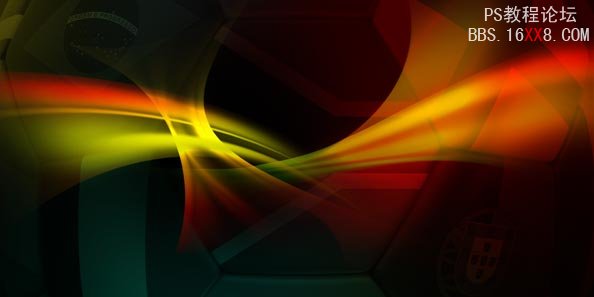
9: Import a picture of a player (your favorite star…) and place it on the “Halo” layer above.
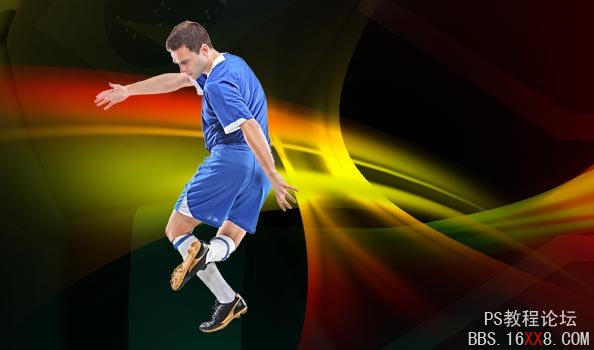
10: Create a new document 1*2 px. Press ctrl+space, zoom in to 1600%, use the “Rectangular Selection Tool” to draw a 1*1 rectangular selection box and fill it with black.
Press “ctrl+a” to select the entire document, select “Edit>Define Pattern”, and define the drawn graphic as a pattern for later use.
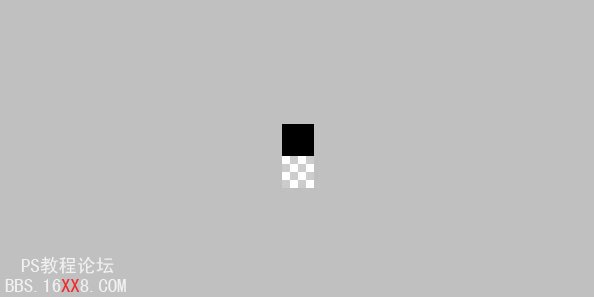
11: Return to the original document, select “Player Layer” to add a “Mask”, select “Edit>Fill” “In the pop-up dialog box, select “Use–Pattern, Custom Pattern–Select the pattern you just defined”. Finally, right-click the mask and select “Apply Mask”.

12. Select the “Paint Tool” in the toolbox and paint the part shown in the picture below.

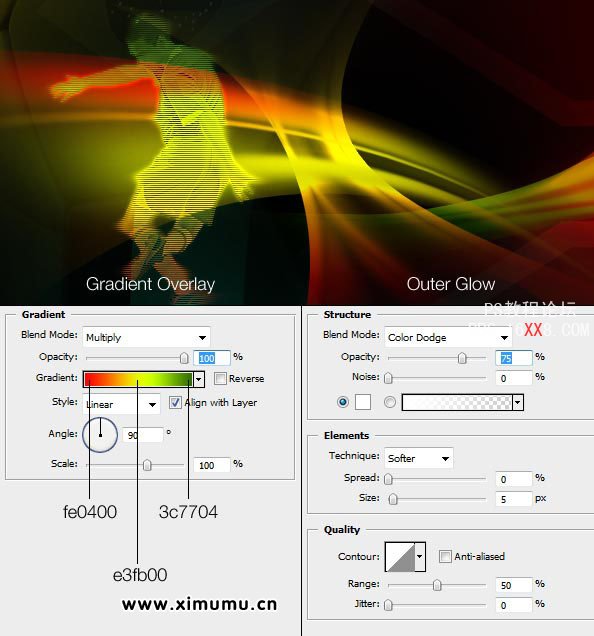
13: Double-click the layer to open “Layer Style” and select “Color Overlay” and “Outer Glow”. Set the data as shown below.
14: Repeat the above steps
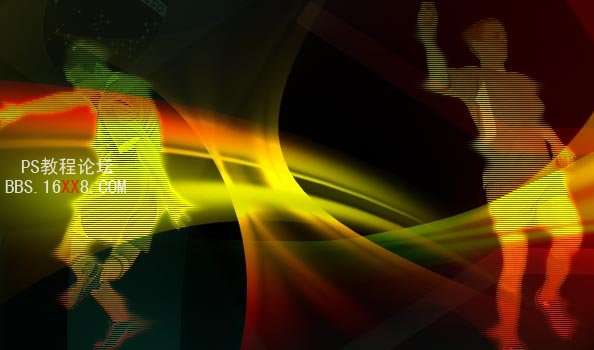
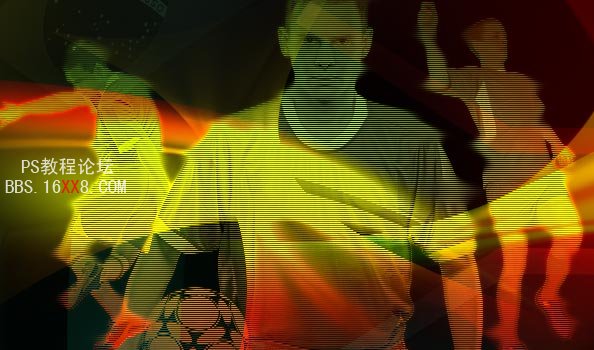
15: Finally add the text effect. (No one can compete in the competition!)

![]()


Author: Hippo Author: Anonymous Source: IT.COM.CN
Let’s take a look at the final rendering:

1: Do you like it? Then we will do it.
Create a new document of 1000*500 and fill the background with black.

2: Create a new layer and rename it “Halo”. Select a soft brush, choose the brush size: 300, 650; the brush color is “white”. Then use these two brushes to draw the effect as shown below on the document.

3: Draw three white straight lines on the same layer, use the “Brush Tool”, you can use the “Shift” key to draw a straight line. (The effect is as shown below)

4: In this step we will create a light and shadow effect. Press “ctrl+T” on the keyboard and select “warp” from the right-click menu, and use the mouse to adjust the control points to create the following effect.

5: Double-click the layer to open the “Layer Blending Mode” dialog box, select “Color Overlay; Outer Glow” and set the data as follows Picture: Finally, use the “eraser” to erase the edges. The effect is as shown in the picture below.

6: Use the same method to create the following effects.

7: Continue to use the previous method to achieve the following effects.


8: Baidu takes a picture of a football. Place the picture of the football between the back and halo layers, and set The layer’s blending mode: “Overlay”.

9: Import a picture of a player (your favorite star…) and place it on the “Halo” layer above.

10: Create a new document 1*2 px. Press ctrl+space, zoom in to 1600%, use the “Rectangular Selection Tool” to draw a 1*1 rectangular selection box and fill it with black.
Press “ctrl+a” to select the entire document, select “Edit>Define Pattern”, and define the drawn graphic as a pattern for later use.

11: Return to the original document, select “Player Layer” to add a “Mask”, select “Edit>Fill” “In the pop-up dialog box, select “Use–Pattern, Custom Pattern–Select the pattern you just defined”. Finally, right-click the mask and select “Apply Mask”.

12. Select the “Paint Tool” in the toolbox and paint the part shown in the picture below.

13: Double-click the layer to open “Layer Style”, select “Color Overlay” and “Outer Glow”, and set The data is shown below.

14: Repeat the above steps


15: Finally add the text effect. (No one can compete in the competition!)

![]()


<!–Collectio

 微信扫一扫打赏
 支付宝扫一扫打赏

