

Author: Saber Translation Source: 10steps.sg
In this PS tutorial we will show you how to create a Christmas wallpaper this year. The tutorial includes some watercolor shading, pencil sketching and some simple lighting effects. It will be easier to create this tutorial if you are working with a tablet
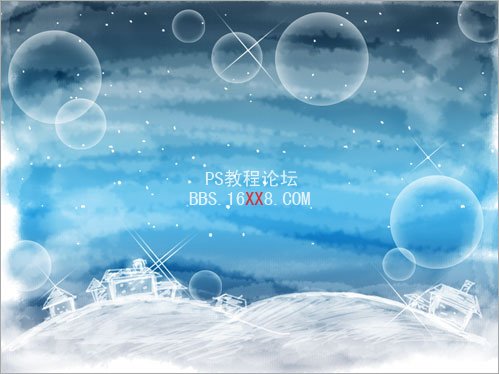
Preview of final rendering

Create a file of size 800 x 600 pixels. Create a new layer and a gradient color as shown below, using the colors: #02314F – #48C0ED – #001847 (from top to bottom).

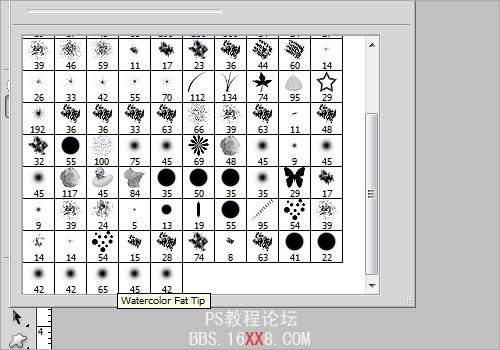
Select the Brush tool and view its preset brushes. Load the Wet Media brush and click. Select the brush that says Watercolor. I can’t find where to download the brushes used in the tutorial. Please forgive me. If you can find them, please provide them.
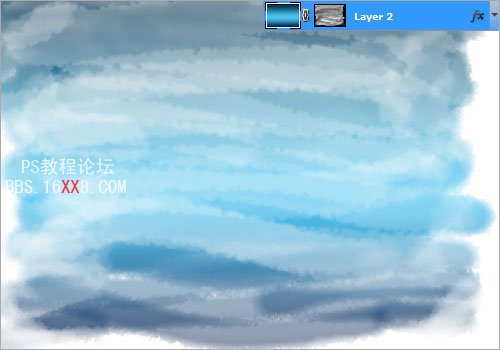
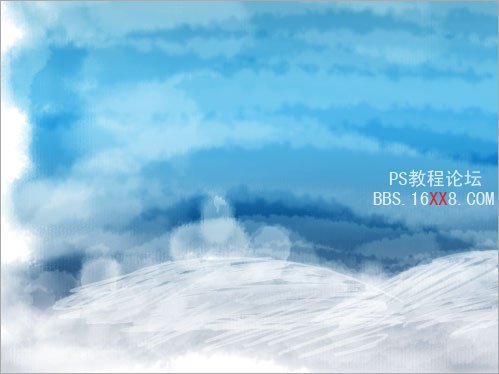
Select the gradient layer you just created and create a layer mask. Fill it with black and set the foreground color to white. Increase the brush size to 120px and the opacity to 60%. Paint a few random horizontal strokes as shown. Rename this layer Sky.
Create a new layer inside the sky layer like above and name it Snow. Brush as in the previous step, setting the foreground color to white and the opacity to 100%. The Paint Bucket tool fills the area around and at the bottom of the document. You can also pad the left and right borders.
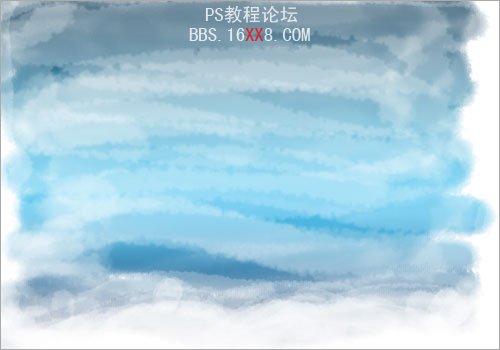
Press Ctrl+L to adjust the color levels, set values to 11, 0.5, 255

Create a new layer above the snow layer and name it Slope. Lower the brush size to 4px and the opacity to 100%. Draw a sketch of a slope below. There are no strict rules on how to do sketching but it will be much easier if you are using a tablet
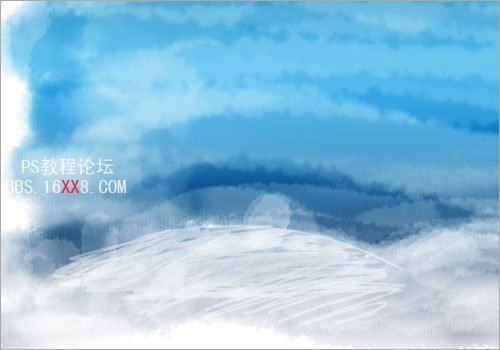
Create two ramps of roughly the same size and divide them on either side.

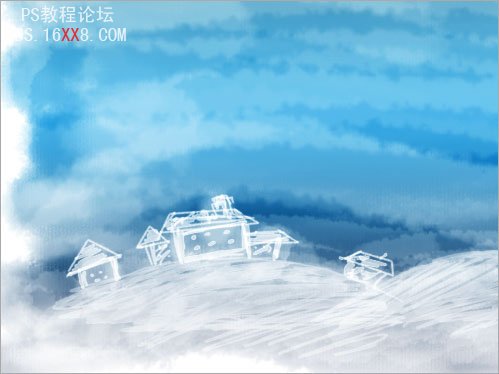
Create a new layer above the slope layer. And name it Cabin. Increase the brush size to 50 pixels and the Opacity to 50%. Place the cabin where you want it to be on the slope as simple as shown below
Then set the brush size to 4px and the opacity to 100%. I drew several sketches of the cabin
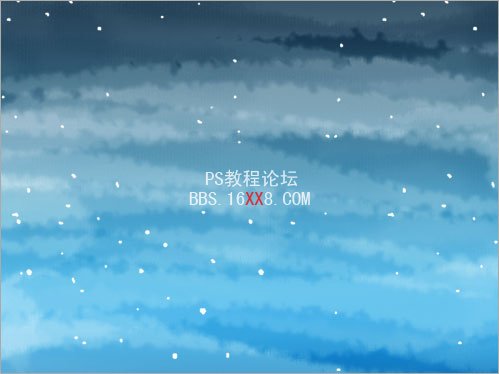
Create a new layer and name it Snow. Using the same brush settings, paint a few spots on the left and right of the file as shown
Create a new layer and name it Glitter. Draw a cross with 4 corners using the Pencil Tool and the Fade Eraser
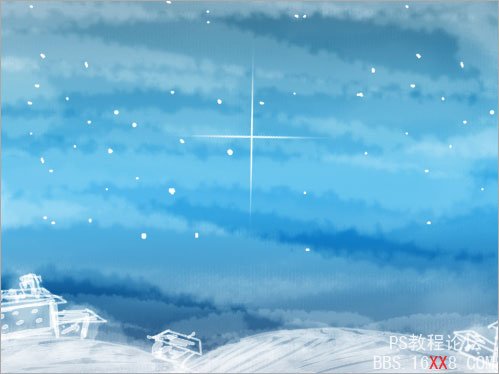
Rotate the flash to 45 degrees, repeatedly create several flash files and place them in the positions as shown below.

Create a new layer and name it Lens. Draw a large white circle and use the eraser tool to fade it from the center point of the circle as shown below,

Repeat this lens and place it randomly on the picture. As shown below
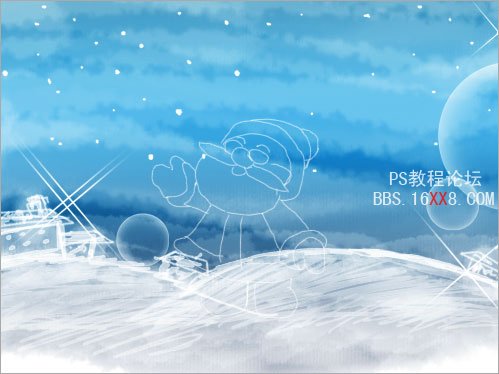
Create a new layer and name it Santa Claus. Using the brush tool with size 4px and opacity 100%, draw a simple line of Santa Claus.
Create a new layer and paint the white areas. Move your pen or mouse in a circular motion

The same red area is repeated.

Let’s fill in the skin area

Add glasses

Then, we draw some thick lines and shading.

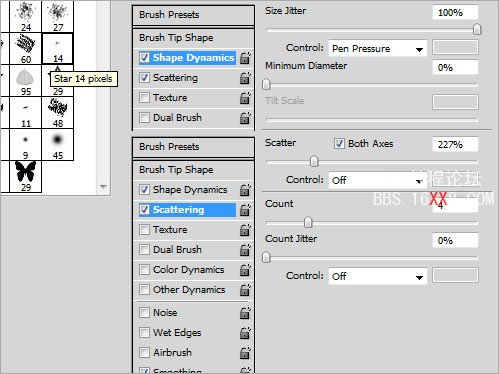
Now, select the Brush Tool and select the preset star 14 pixel brush. Open the brush options and the settings below
Finally, create a new layer and write MERRY XMAS to complete the design. Outer glowing text has better results. That’s everything! Hope you enjoyed the tutorial. Thank you all
![]()


Author: Saber Translation Source: 10steps.sg
In this PS tutorial we will show you how to create a Christmas wallpaper this year. The tutorial includes some watercolor shading, pencil sketching and some simple lighting effects. It will be easier to create this tutorial if you are working with a tablet
Preview of final rendering
Create a file of size 800 x 600 pixels. Create a new layer and a gradient color as shown below, using the colors: #02314F – #48C0ED – #001847 (from top to bottom).
Select the Brush tool and view its preset brushes. Load the Wet Media brush and click. Select the brush that says Watercolor. I can’t find where to download the brushes used in the tutorial. Please forgive me. If you can find them, please provide them.
Select the gradient layer you just created and create a layer mask. Fill it with black and set the foreground color to white. Increase the brush size to 120px and the opacity to 60%. Paint a few random horizontal strokes as shown. Rename this layer Sky.
Create a new layer inside the sky layer like above and name it Snow. Brush as in the previous step, setting the foreground color to white and the opacity to 100%. The Paint Bucket tool fills the area around and at the bottom of the document. You can also pad the left and right borders.
Press Ctrl+L to adjust the color levels, set values to 11, 0.5, 255
Create a new layer above the snow layer and name it Slope. Lower the brush size to 4px and the opacity to 100%. Draw a sketch of a slope below. There are no strict rules on how to do sketching but it will be much easier if you are using a tablet
Create two ramps of roughly the same size and divide them on either side.
Create a new layer above the slope layer. And name it Cabin. Increase the brush size to 50 pixels and the Opacity to 50%. Place the cabin where you want it to be on the slope as simple as shown below
Then set the brush size to 4px and the opacity to 100%. I drew several sketches of the cabin
Create a new layer and name it Snow. Using the same brush settings, paint a few spots on the left and right of the file as shown
Create a new layer and name it Glitter. Draw a cross with 4 corners using the Pencil Tool and the Fade Eraser
Rotate the flash to 45 degrees, repeatedly create several flash files and place them in the positions as shown below.
Create a new layer and name it Lens. Draw a large white circle and use the eraser tool to fade it from the center point of the circle as shown below,
Repeat this lens and place it randomly on the picture. As shown below
Create a new layer and name it Santa Claus. Using the brush tool with size 4px and opacity 100%, draw a simple line of Santa Claus.
Create a new layer and paint the white areas. Move your pen or mouse in a circular motion
The same red area is repeated.
Let’s fill in the skin area
Add glasses
Then, we draw some thick lines and shading.
Now, select the Brush Tool and select the preset star 14 pixel brush. Open the brush options and the settings below
Finally, create a new layer and write MERRY XMAS to complete the design. Outer glowing text has better results. That’s everything! Hope you enjoyed the tutorial. Thank you all
![]()
 微信扫一扫打赏
 支付宝扫一扫打赏

