

Author: Zhuozhirou Source: eNet Silicon Valley Power
In this little Photoshop tutorial I’m going to show you some interesting effects that I’ve experimented with. You can follow my tutorial to make…
Let’s take a look at the final effect:

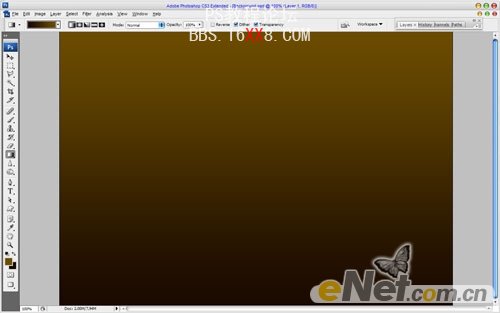
1. Create a new document approximately 1000 x 700 pixels. Select some suitable colors, for example the color is #6b4c00, #190900 and drag the linear gradient.
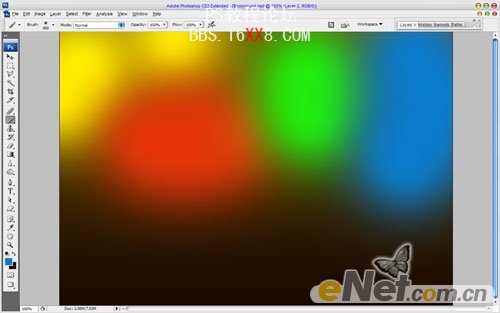
2. After that, I want to add more background colors. Create a new layer for this, use the Brush Tool and select one with a diameter of 400 px, using a soft brush. I used the following colors: #fff000, #e7340a, #20f00a and #0a7dcd.
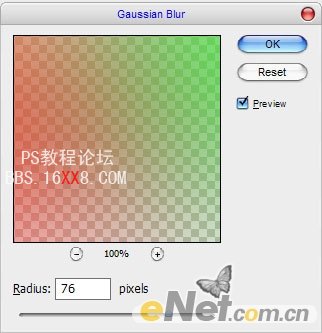
3. Then apply the settings “Filter”>”Blur”>”Gaussian Blur”:
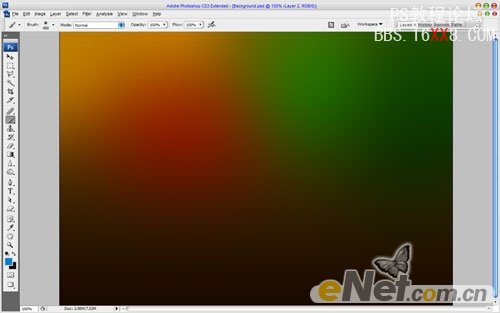
4. Then change the layer mode to Multiply.
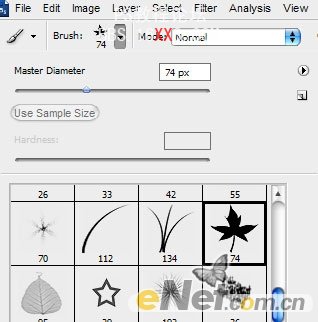
5. Okay, now I want to add some elements. Select the Brush Tool and choose one of the standard Photoshop brushes:
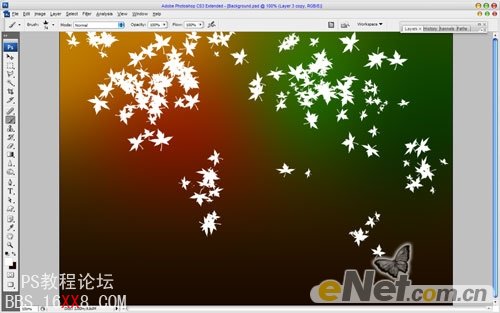
6. Create a new layer, set the brush to white, and draw as shown in the picture.
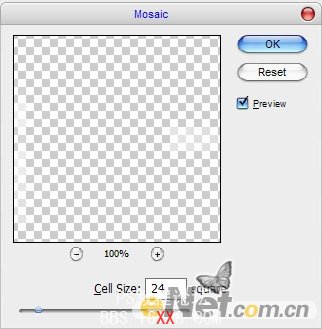
7. After that, apply Filter > Pixelate > Mosaic:
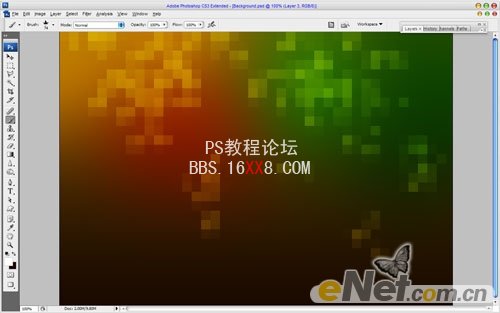
8. Get the following effect:
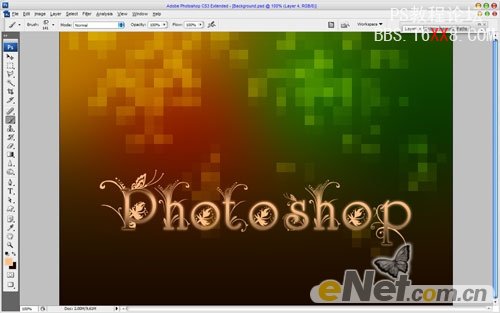
9. Move to the next step. Now I want to add text. Select the Brush Tool and download these brushes. Then create a new layer, set the color #ffc088, and paint the following effect.
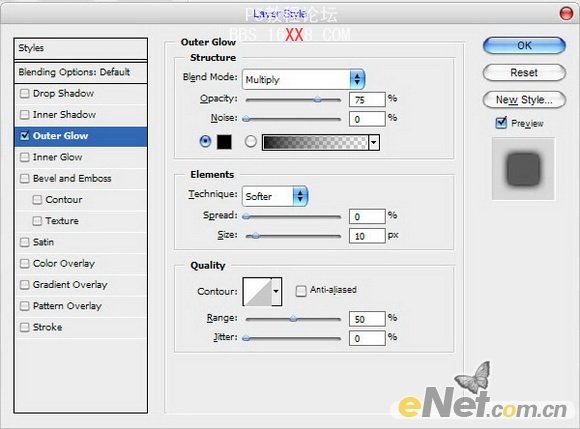
10. Use Ctrl + J to duplicate the layer and add a layer style to set Outer Glow.
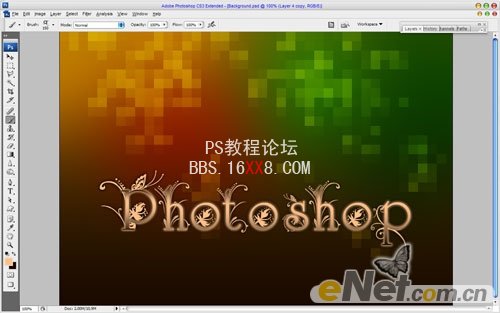
11. Then go to the next layer and press Сtrl+F to apply a similar preset “Filter”>”Pixelize”>”Mosaic”. After filling, set the opacity. I tried the opacity at 60%.
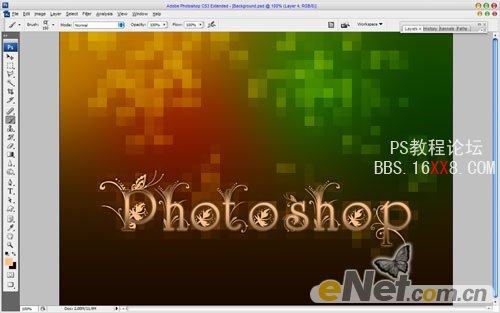
12. So, we made this tutorial! Enjoy your own creation!
![]()


Author: Zhuozhirou Source: eNet Silicon Valley Power
In this little Photoshop tutorial I’m going to show you some interesting effects that I’ve experimented with. You can follow my tutorial to make…
Let’s take a look at the final effect:
1. Create a new document approximately 1000 x 700 pixels. Select some suitable colors, for example the color is #6b4c00, #190900 and drag the linear gradient.
2. After that, I want to add more background colors. Create a new layer for this, use the Brush Tool and select one with a diameter of 400 px, using a soft brush. I used the following colors: #fff000, #e7340a, #20f00a and #0a7dcd.
3. Then apply the settings “Filter”>”Blur”>”Gaussian Blur”:
4. Then change the layer mode to Multiply.
5. Okay, now I want to add some elements. Select the Brush Tool and choose one of the standard Photoshop brushes:
6. Create a new layer, set the brush to white, and draw as shown in the picture.
7. After that, apply Filter > Pixelate > Mosaic:
8. Get the following effect:
9. Move to the next step. Now I want to add text. Select the Brush Tool and download these brushes. Then create a new layer, set the color #ffc088, and paint the following effect.
10. Use Ctrl + J to duplicate the layer and add a layer style to set Outer Glow.
11. Then go to the next layer and press Сtrl+F to apply a similar preset “Filter”>”Pixelize”>”Mosaic”. After filling, set the opacity. I tried the opacity at 60%.
12. So, we made this tutorial! Enjoy your own creation!
![]()
 微信扫一扫打赏
 支付宝扫一扫打赏

