

Author: Anonymous Source:![]()
This photoshop tutorial mainly uses custom brushes, color ranges, channels and masks to create a custom brush
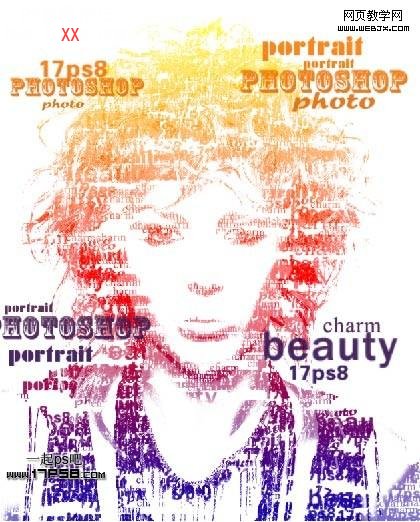
The text is pieced together to form a face of a beautiful woman’s avatar
, the effect is pretty good, let’s take a look at the renderings first.
1. First open a picture of a beautiful woman. You can use other pictures, preferably larger.

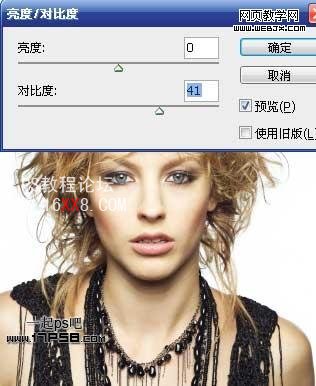
2. Ctrl+J to copy the background, Image>Adjustments>Brightness/Contrast.
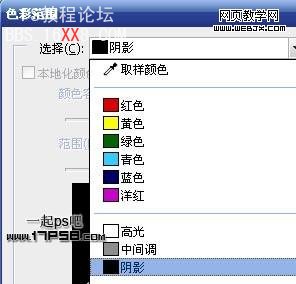
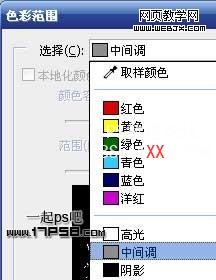
3. Select > Color Range and select Shadow.
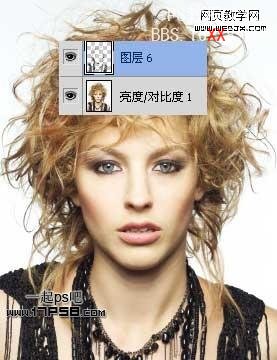
4. After confirmation, we will get a selection, ctrl+J to copy the selection to a new layer.
5. Select the original layer, the Brightness Contrast 1 layer on the screenshot, select > Color Range, this time select Midtones.
6. After confirmation, we will get a selection, ctrl+J to copy the selection to a new layer. Hide the original layer and the effect is as follows.

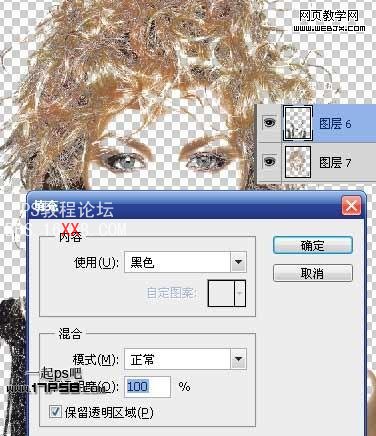
7. Select the shadow layer and go to Edit>Fill with black.
8. Select the midtone layer and go to Edit > Fill with 50% gray.
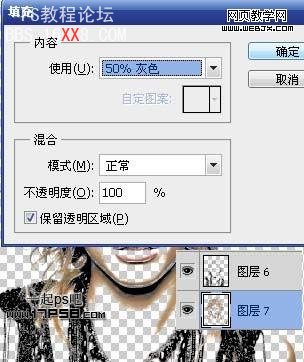
9. Afterwards, the effect should be similar to the picture below.

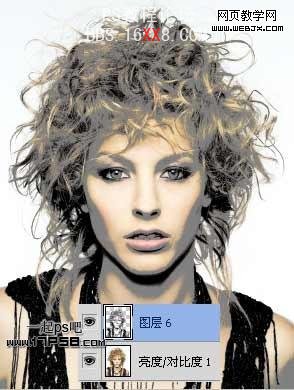
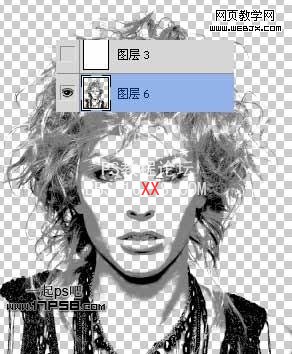
10. Merge the 2 layers and display the original layer. The effect is as follows.
11. Next we define the brush, create a new document, enter text, and the fonts and sizes are different.
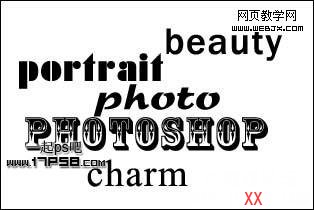
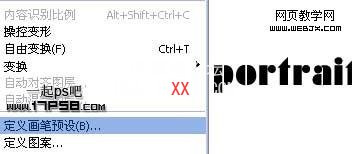
12. Select a text layer and go to Edit>Define Brush Preset. A dialog box will pop up. Just give it a name. Repeat this step to define a brush for each text.
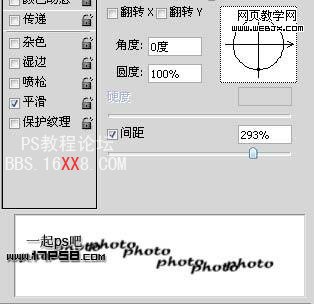
13. Go back to the beauty document, create a new layer, and apply the brushes you just defined. Set a different spacing for each brush. Pay attention to the size and position. You can also change the angle appropriately.
14. Create a new layer at the bottom and fill it with white. The effect is as follows.
15. Hide other layers, only display and select the grayscale layer you just merged, select all, and copy.
16. Select the brush text layer and add a mask.

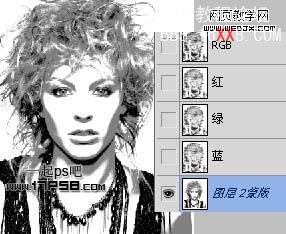
17. Go to the channel mask, and we will find that a new channel appears. Paste the content you just copied into this channel.
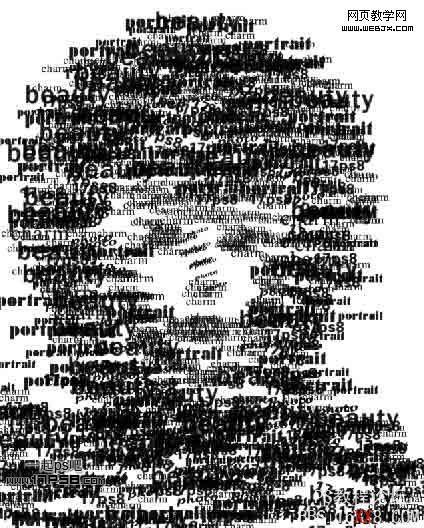
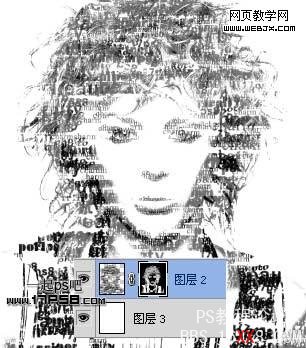
18. Return to the layer panel, select the mask, ctrl+I to invert, the effect is as follows.
19. Enter some large text and arrange the positions.
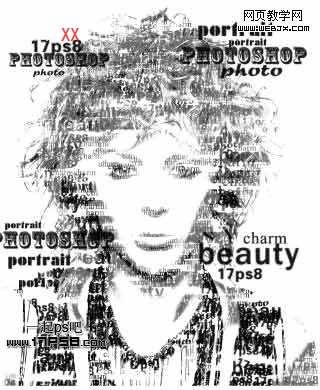
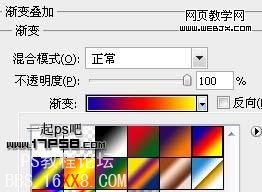
20. Merge all large text layers and add layer styles.
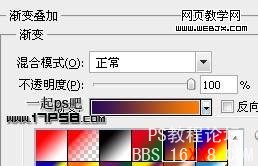
21. Select the text brush layer to which the mask is added and add a layer style.
The final effect is as follows.
![]()


Author: Anonymous Source:![]()
This photoshop tutorial mainly uses custom brushes, color ranges, channels and masks to create a custom brush
The text is pieced together to form a face of a beautiful woman’s avatar
, the effect is pretty good, let’s take a look at the renderings first.
1. First open a picture of a beautiful woman. You can use other pictures, preferably larger.
2. Ctrl+J to copy the background, Image>Adjustments>Brightness/Contrast.
3. Select > Color Range and select Shadow.
4. After confirmation, we will get a selection, ctrl+J to copy the selection to a new layer.
5. Select the original layer, the Brightness Contrast 1 layer on the screenshot, select > Color Range, this time select Midtones.
6. After confirmation, we will get a selection, ctrl+J to copy the selection to a new layer. Hide the original layer and the effect is as follows.
7. Select the shadow layer and go to Edit>Fill with black.
8. Select the midtone layer and go to Edit > Fill with 50% gray.
9. Afterwards, the effect should be similar to the picture below.
10. Merge the 2 layers and display the original layer. The effect is as follows.
11. Next we define the brush, create a new document, enter text, and the fonts and sizes are different.
12. Select a text layer and go to Edit>Define Brush Preset. A dialog box will pop up. Just give it a name. Repeat this step to define a brush for each text.
13. Go back to the beauty document, create a new layer, and apply the brushes you just defined. Set a different spacing for each brush. Pay attention to the size and position. You can also change the angle appropriately.
14. Create a new layer at the bottom and fill it with white. The effect is as follows.
15. Hide other layers, only display and select the grayscale layer you just merged, select all, and copy.
16. Select the brush text layer and add a mask.
17. Go to the channel mask, and we will find that a new channel appears. Paste the content you just copied into this channel.
18. Return to the layer panel, select the mask, ctrl+I to invert, the effect is as follows.
19. Enter some large text and arrange the positions.
20. Merge all large text layers and add layer styles.
21. Select the text brush layer to which the mask is added and add a layer style.
The final effect is as follows.
![]()
 微信扫一扫打赏
 支付宝扫一扫打赏

