PhotoShop Tutorial: Making Dynamic Signature Effects This tutorial introduces the use of IR to create some dynamic signature effects. First, you need to make all the pictures for animation display in PS, and then set the animation in IR to play!
Original picture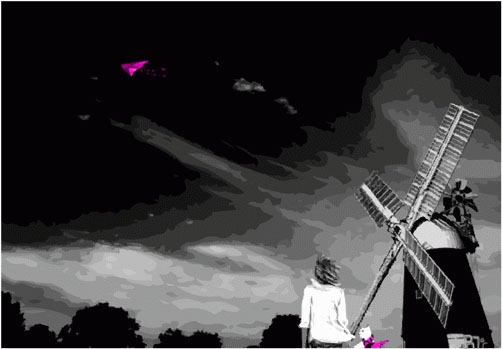
Final effect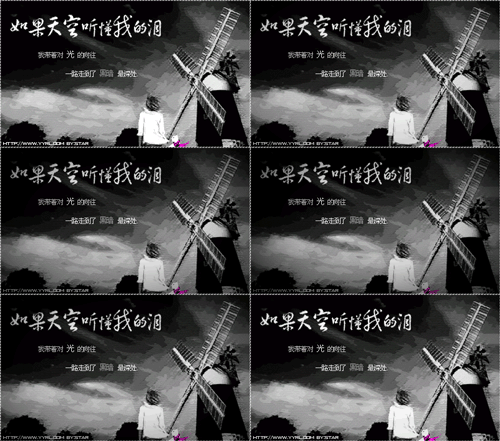
1. Open the original image and crop it to size
2. Duplicate a layer and change the layer blending mode to “Overlay”, execute the menu: Filter > Artistic Effect > Rough crayon parameters are the default values, and the zoom position is: 40%
3. Use Use the Elliptical Marquee Tool to pull out an ellipse in the picture
4. Press Ctrl Shift I to invert the selection and press Ctrl Shift D. The Feather value is 50, create a new layer and fill it with black.
5. Type text
6. Duplicate the font layer, delete the layer, execute the menu: Filter > Stylize > Diffuse and then change the layer blending mode to “Overlay” and the opacity to :30%
7. Mark the small characters
8. Hide the black fill layer first and merge other layers
9. Convert to IP
10. Copy a picture in the animation panel The first frame displays the merged layer of layer 1, and the second frame displays the layer 1 and layer 2 time settings of 0.2 seconds
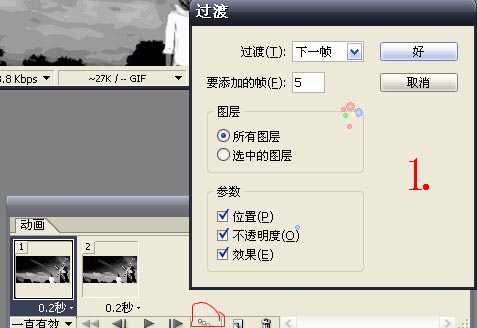
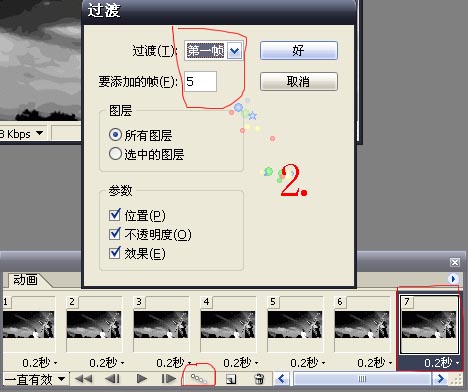
11. Select the first frame point transition button and set it as shown in Figure 1
12 .Select the last transition point and set the transition button as shown in Figure 2
13. After playing, save it in GIG format and save the optimization results as the final effect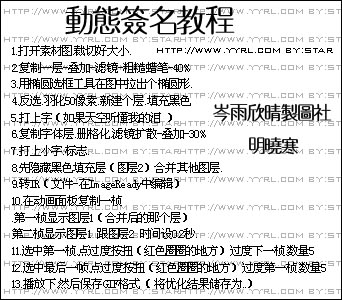
<!–Collectio

 微信扫一扫打赏
 支付宝扫一扫打赏

