This tutorial uses PS to create a scary Halloween poster. The whole tutorial is relatively simple. It is said that the font is actually a kind of Halloween poster. The whole thing is combined together. As long as you learn the idea, you will be able to design other characters again with ease. , the key lies in the matching of font colors and the desired texture. Students still need to make it themselves to understand the mystery. Let’s learn it together. Students have to use their hands to do it.
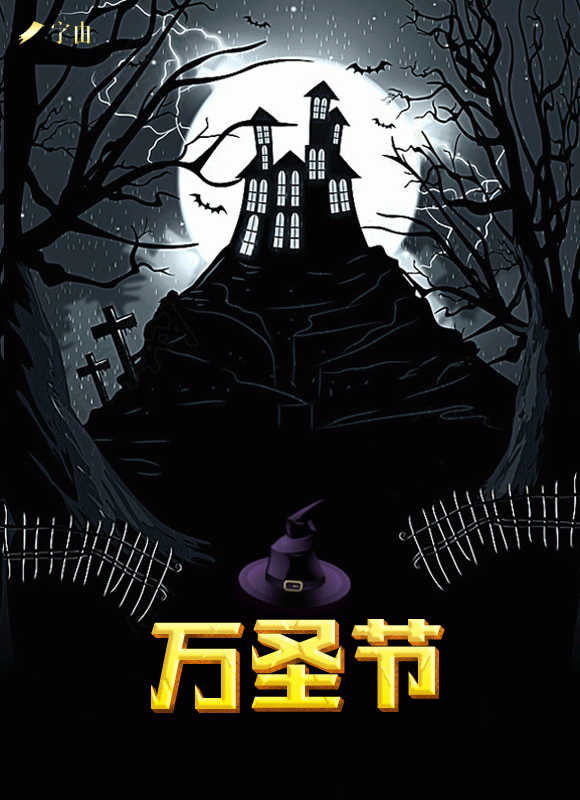
Rendering:
Operation steps:
First open a background image, enter text, then search and activate the Hanyi Halloween font using the word by word,
Click on the font layer, as shown on the right.
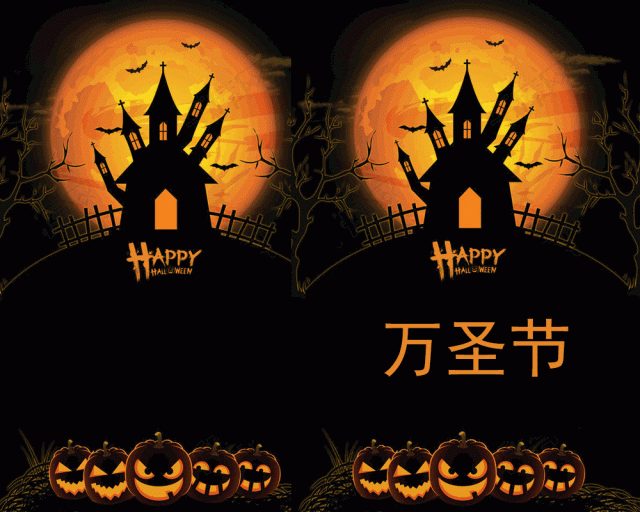
Then click on the perspective function to give the font a little depth.

www.16xx8.com
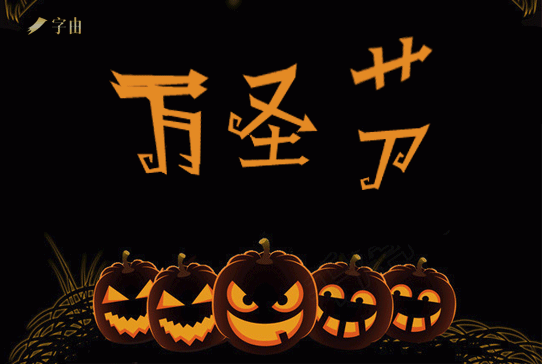
Continue to control the transformation. This tool is very interesting. You can “play” with the word “Jie”. You can change it any way you want. I just split the word “Jie” randomly.

Duplicate a layer for the 10,000 words, move it down to form a ghost, and add a small arrow to blend the two together (eraser + smudge tool).
The next step is to add various small elements to make the font lively.
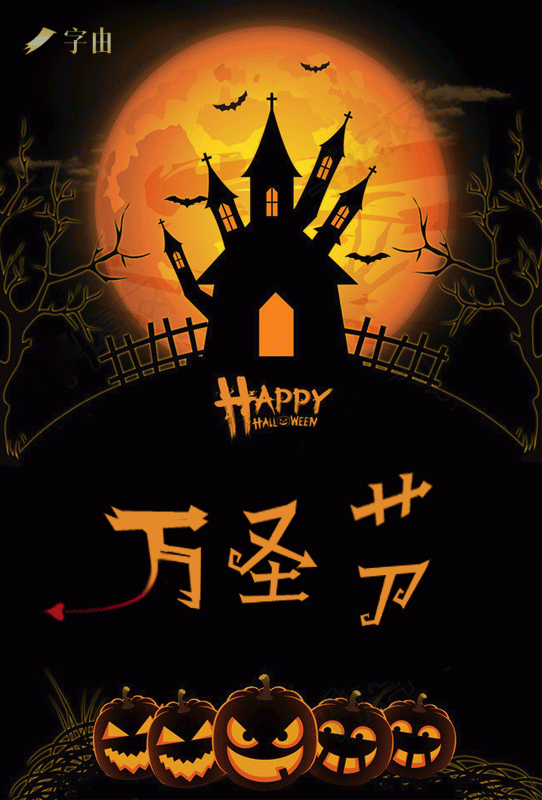
Is it very simple, but also feels a bit childish? Don’t worry, the next step is the advanced version.
Make the font taller
Open another background image, enter text, then use the word search to activate Hanyi Casting Flame Body, click on the font layer, as shown on the right.
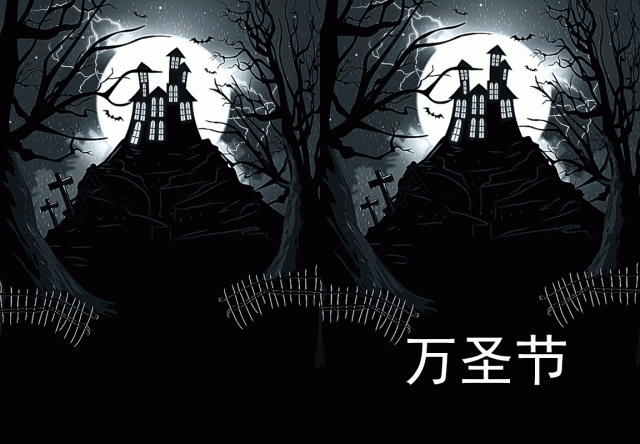
Then we add thickness to the font, copy a layer, adjust the color of the upper layer to gray, click on the white font below, hold down Ctrl+T, and move 1 pixel to the right and down (keyboard).
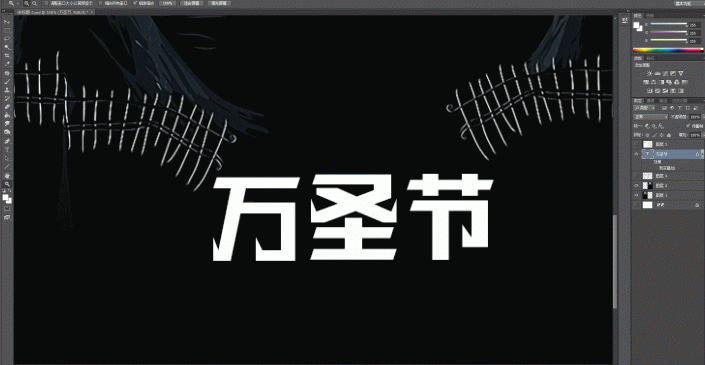
There is a shortcut here to copy the previous flicking action. Click on the white font layer, select the movement key, and hold down ctrl+alt+shift+T at the same time. You can see that the font is getting thicker (this is a knowledge point, remember Living).
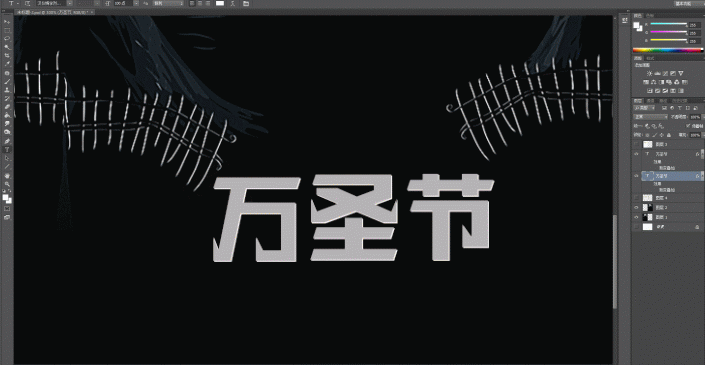
First right-click to rasterize, then merge all the layers of the white font, add an orange gradient to it, and then add a yellow gradient to the gray font.
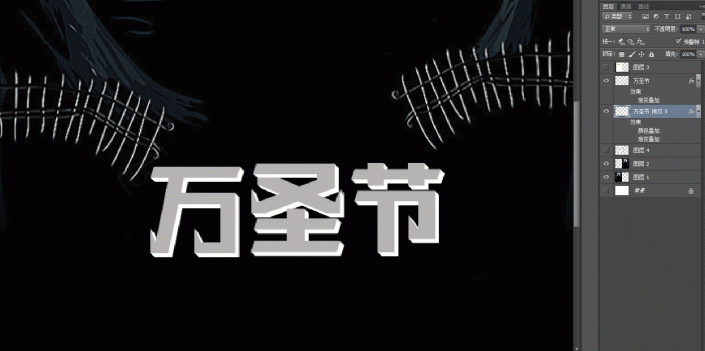
Click on the orange font layer, right-click and convert to Smart Object, and create a new layer, create a clipping Mask,�Use the black brush tool (with the opacity and flow adjusted) to add a shadow to the font on the mask.
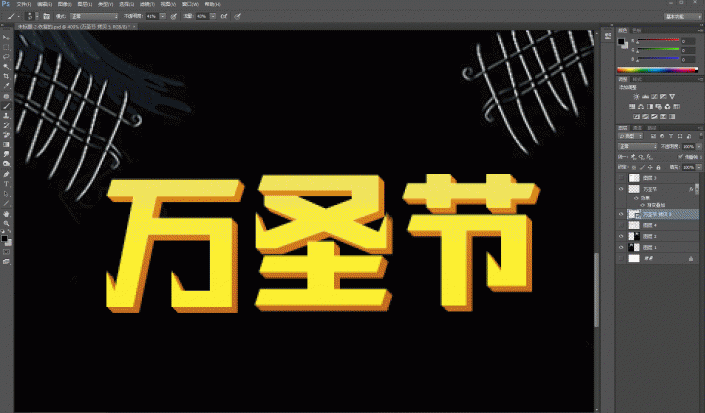
The next step is bevel relief. Some people say who doesn’t know how to do this, but you rarely adjust the parameters, right? So the effect is very fake, look at what I have adjusted.

When it is made, it looks like this. Isn’t it more three-dimensional?
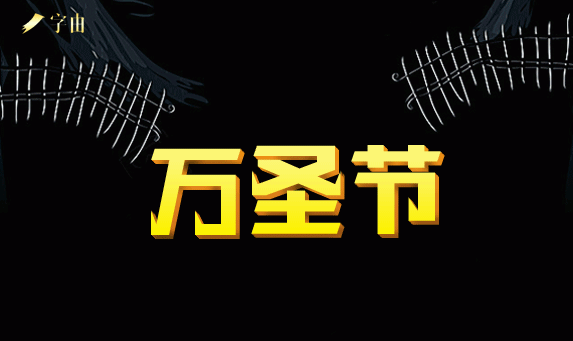
Finally, find a metal material, create a Clipping Mask, and add a texture to the orange font part.
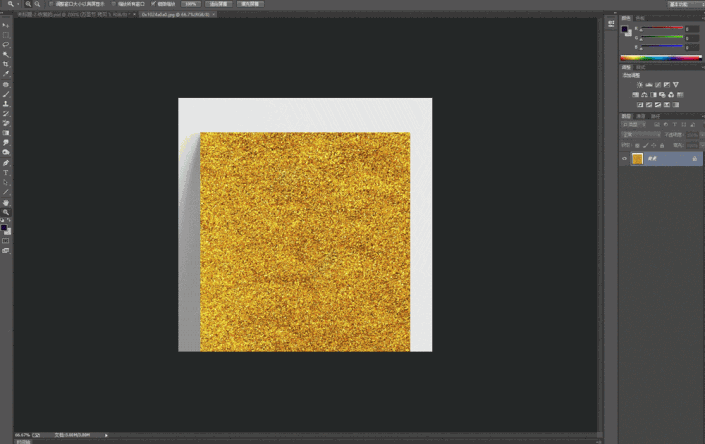
For the yellow font part, I chose a diamond pattern directly on the texture part of the bevel relief to create a knife-cutting effect. Isn’t it a bit scary, haha.

Complete:

Halloween is a Western holiday. While everyone is joining in the fun, don’t forget our country’s traditional festivals. Let’s learn how to make a tutorial together.
This tutorial uses PS to create a scary Halloween poster. The whole tutorial is relatively simple. It is said that the font is actually a kind of Halloween poster. The whole thing is combined together. As long as you learn the idea, you will be able to design other characters again with ease. , the key lies in the matching of font colors and the desired texture. Students still need to make it themselves to understand the mystery. Let’s learn it together. Students have to use their hands to do it.
Rendering:

Operation steps:
First open a background image, enter text, then search and activate the Hanyi Halloween font using the word by word,
Click on the font layer, as shown on the right.

Then click on the perspective function to give the font a little depth.

www.16xx8.com
Continue to control the transformation. This tool is very interesting. You can “play” with the word “Jie”. You can change it any way you want. I just split the word “Jie” randomly.

Duplicate a layer for the 10,000 words, move it down to form a ghost, and add a small arrow to blend the two together (eraser + smudge tool).

The next step is to add various small elements to make the font lively.

Is it very simple, but also feels a bit childish? Don’t worry, the next step is the advanced version.
Make the font taller
Open another background image, enter text, then use the word search to activate Hanyi Casting Flame Body, click on the font layer, as shown on the right.

Then we add thickness to the font, copy a layer, adjust the color of the upper layer to gray, click on the white font below, hold down Ctrl+T, and move 1 pixel to the right and down (keyboard).

There is a shortcut here to copy the previous flicking action. Click on the white font layer, select the movement key, and hold down ctrl+alt+shift+T at the same time. You can see that the font is getting thicker (this is a knowledge point, remember Living).

First right-click to rasterize, then merge all the layers of the white font, add an orange gradient to it, and then add a yellow gradient to the gray font.

Click on the orange font layer, right-click and convert to Smart Object, and create a new layer, create a clipping Mask, use the black brush tool (adjust the opacity and flow), and Add shadow to the font on the mask.

The next step is bevel relief. Some people say who doesn’t know how to do this, but you rarely adjust the parameters, right? So the effect is very fake, look at what I have adjusted.

When it is made, it looks like this. Isn’t it more three-dimensional?

Finally, find a metal material, create a Clipping Mask, and add a texture to the orange font part.

For the yellow font part, I chose a diamond pattern directly on the texture part of the bevel relief to create a knife-cutting effect. Isn’t it a bit scary, haha.

Complete:

Halloween is a Western holiday. While everyone is joining in the fun, don’t forget our country’s traditional festivals. Let’s learn how to make a tutorial together.

 微信扫一扫打赏
 支付宝扫一扫打赏

