Source: China Tutorial Network Author: Derek-Yu
This tutorial introduces how to use materials to synthesize creative renderings! Idea: First find relevant materials, and then slowly put the materials together yourself. Some materials need to be drawn out or softened. Then adjust the overall color. This tutorial is missing an important step. It does not include the city in the material. This is up to you!
Final effect
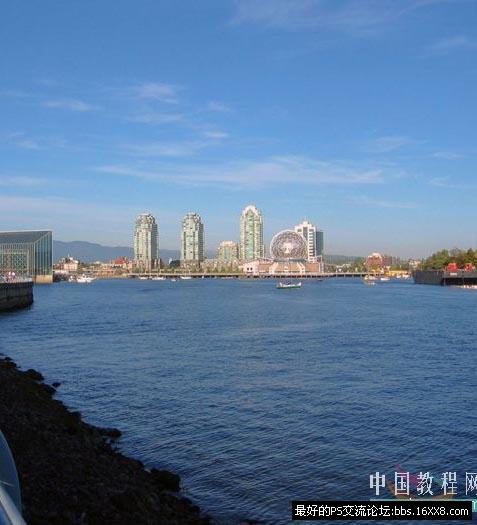
Material 1 
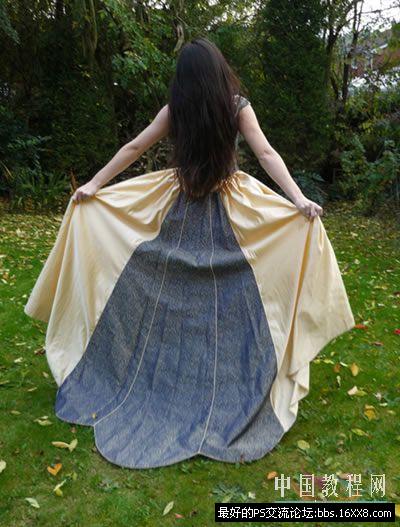
Material 2 
Material 3

1. Open material 3 in PS and draw out the characters.
2. Open material 2 in PS, use the move tool to move the model picture you just cut out, and place it in the appropriate position, as shown below: 
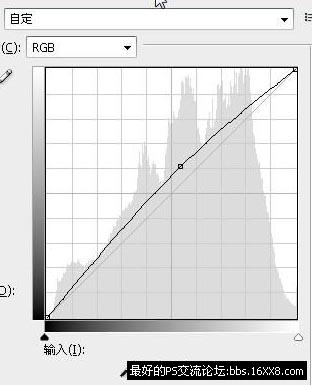
3. Add a Curves adjustment layer to brighten, as shown below. 
4. Add a channel mixer adjustment Layer, set parameters as shown below. 
5. Then add a selected color adjustment layer with the following parameters: 
6. Now add hue and saturation adjustment layer to reduce saturation. The parameters are as shown below. 
7. Add a color balance adjustment layer for final tone processing. The parameters are as shown below. 
8. Now the color tone processing is completed. But I felt that the layering of the whole picture was too poor, so I used my favorite method to deepen the layering: create a new layer,
fill it with black, and set the mode to Overlay. 
Set the foreground color to 50% gray, and use a soft brush with a larger diameter (I used 600 here) to paint on the black layer just created. The screenshot of the layer panel is as follows. 

10. Press Use the shortcut keys Ctrl+Alt+Shift+E to stamp the layer, and execute Filter > Sharpen > Sharpen on the stamped layer, and then execute Edit > Fade Sharpen as shown below. 
11. Add a simple border and text to complete the final effect. 
Search for more posts on related topics: ps synthesis tutorial photoshop tutorial
<!–Collectio

 微信扫一扫打赏
 支付宝扫一扫打赏

